bandman444
Well-Known Member
That's it! I'm addicted!
I had to make a new folder in rocksim just because there were so many files!
The smallest being a 1/2" Diameter scale model with fins made from a hotel key from my vacation recently. Flies great on 1/2A's!
Next (my fav) a bt-80 adaptation that stands 16inches tall. Flies AMAZING on C6-3/5's. (Ate all 15 I had that day!) Also liked the last few B4-2's I had. Highly recommend as an easy scratch build!
Next up...
I was in toy-r-us and my dad yells to me that he found the rocketry section. I was so excited, I ran to him and....it was a row of crayon banks. My dad thought he was kidding...hahaha, I made him buy me one. It's not yet built, but will be soon. it is 3 feet tall and has a 38mm mount ready for G's and small H's.
High power guys. You ready?
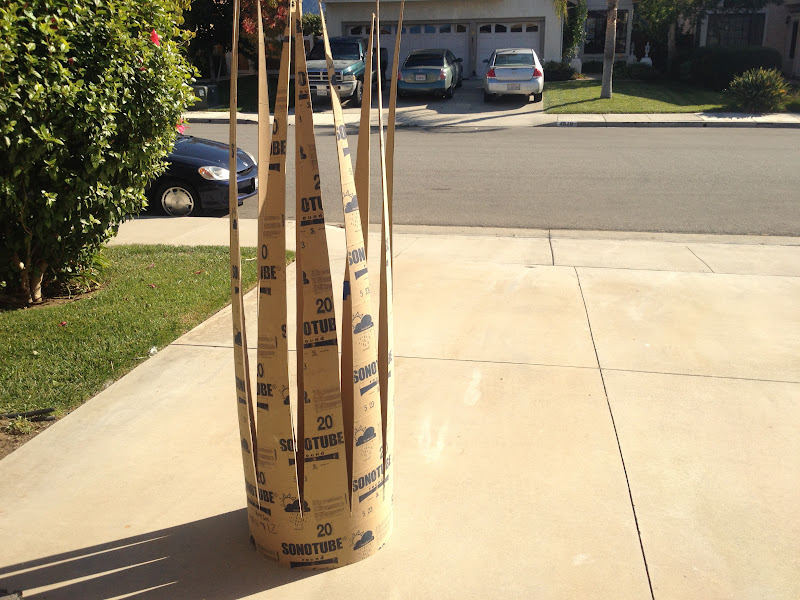
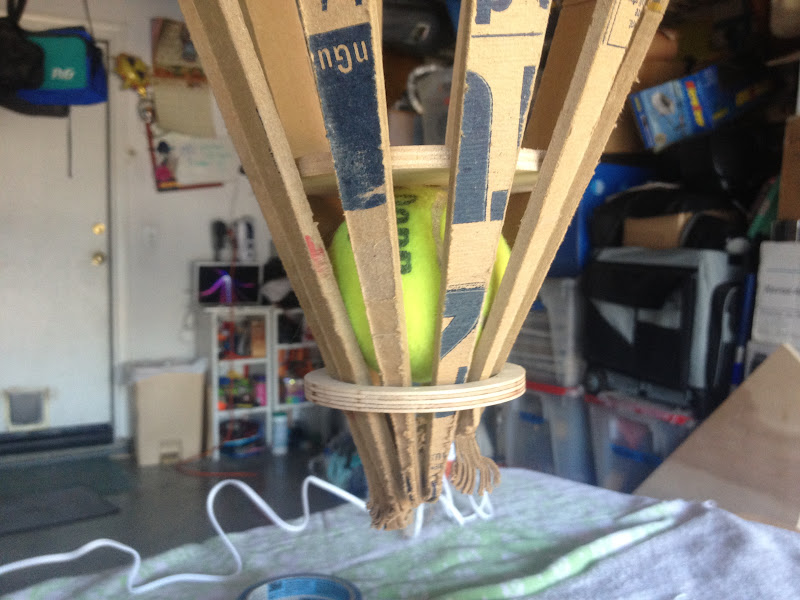
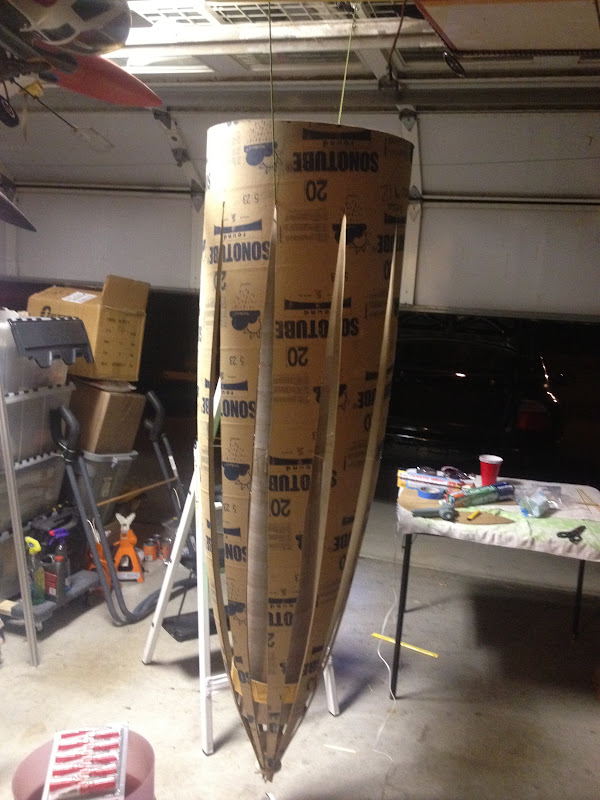
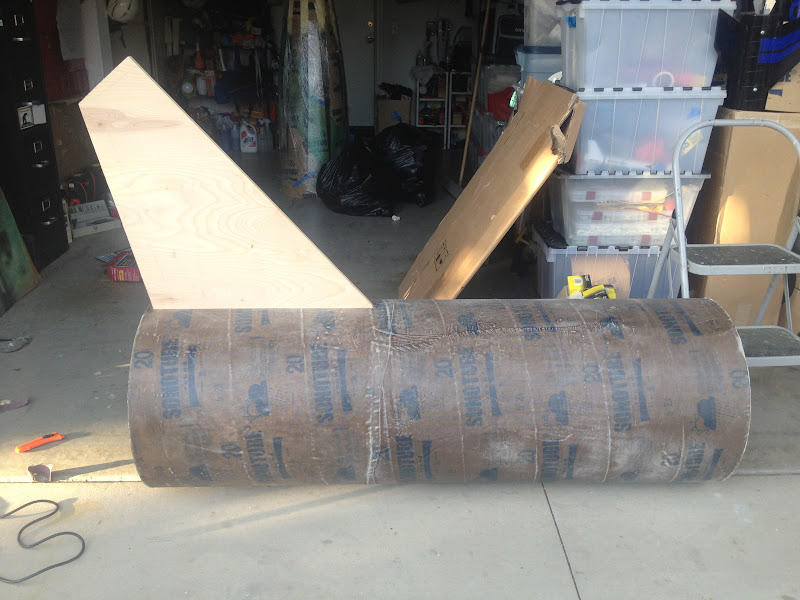
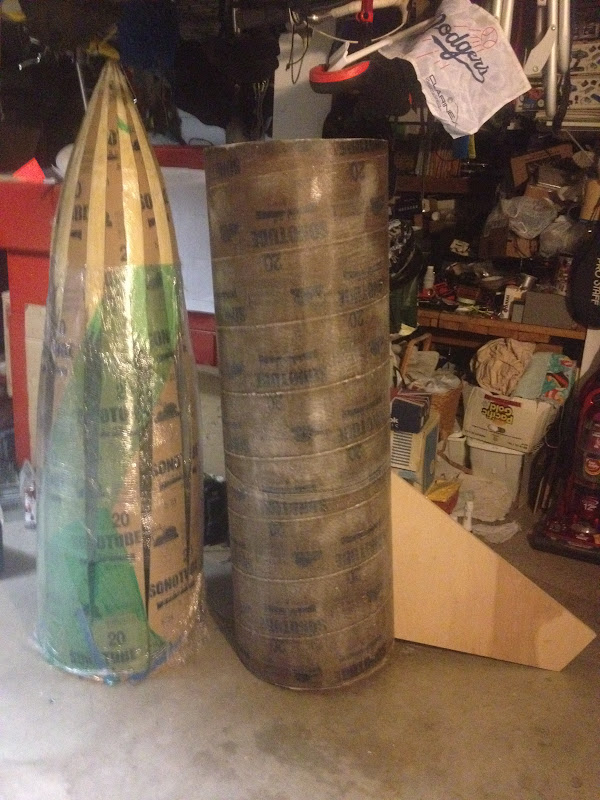
My level 3 will be a squat, but a 20" diameter squat. I asked about how to make a nosecone for an irregular sized tube here on TRF a couple months ago and settled on an unorthodox method. I had known it worked on small diameter body tubes and wanted to see if it would work out.
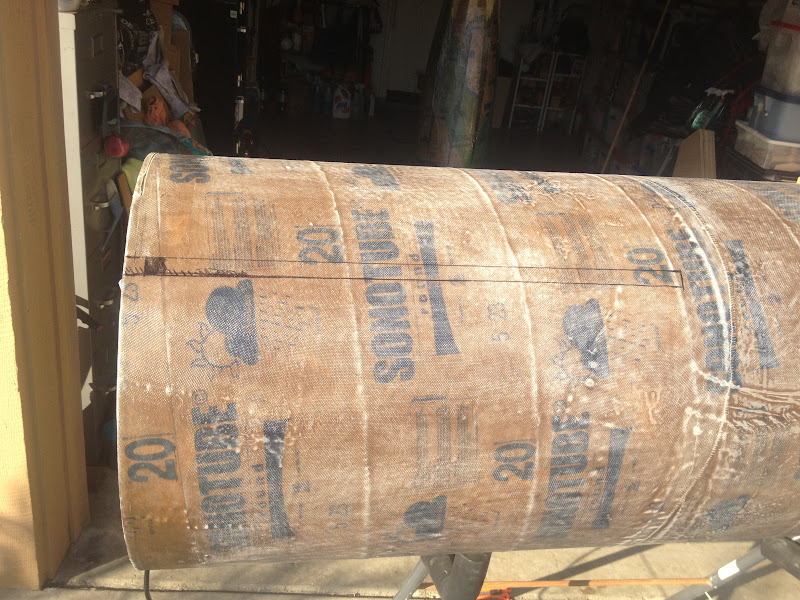
I already bought the tubes for my Level 3 about 2 weeks ago (very nice Sonotube) and this morning went by Home Depot to get my "test" tubes. Half scale 10" nominal diameter Quikcrete tubes. I had to make sure I got 2 identical diameters (which I did).
So todays test went well, the biggest issue was cutting the tube smooth. I think my new dremel will take care of that though.
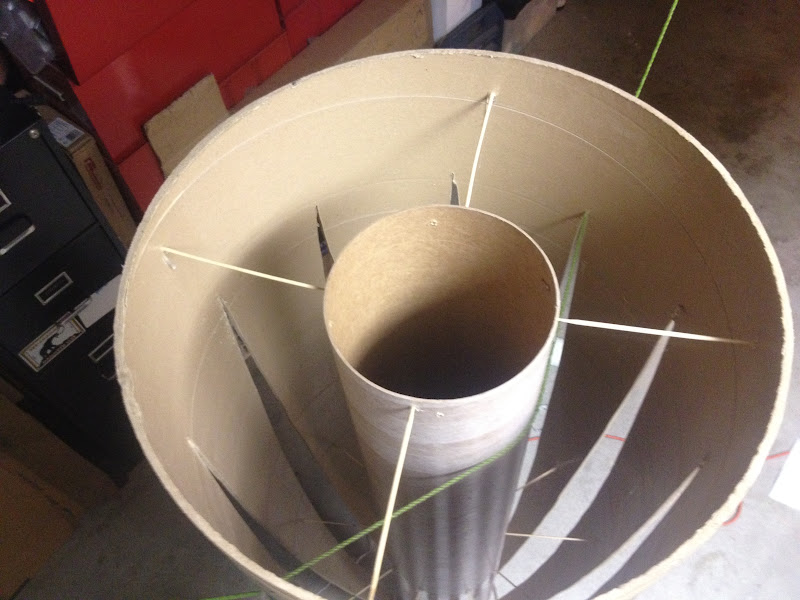
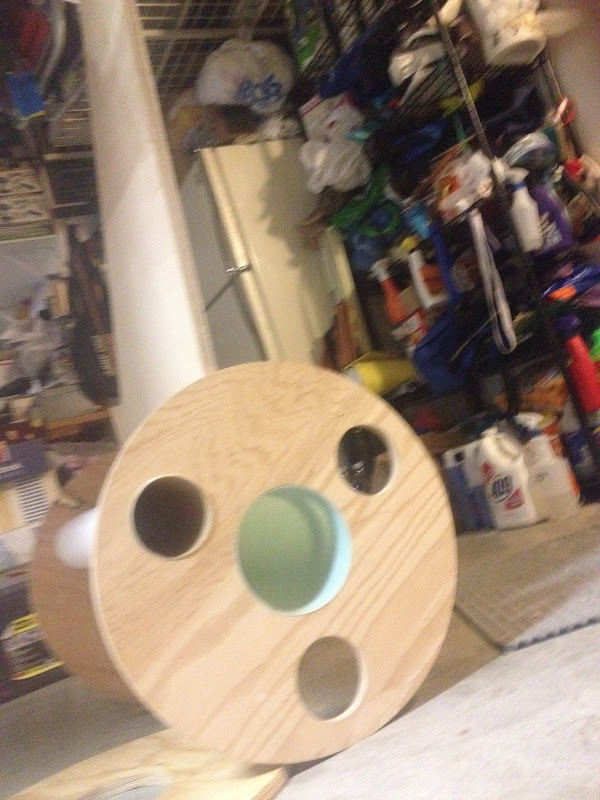
So the 10" will be a 2.5x upscale from the original and will have a central 75mm Motor mount and 1/2" 5ply fins.
The 20" will be a 5x Upscale and stand a massive 12ft tall. And will have a central 150mm mount surrounded by 4 54mm (75?).
Pictures!
The little ones
Crayon Rocksim Squat
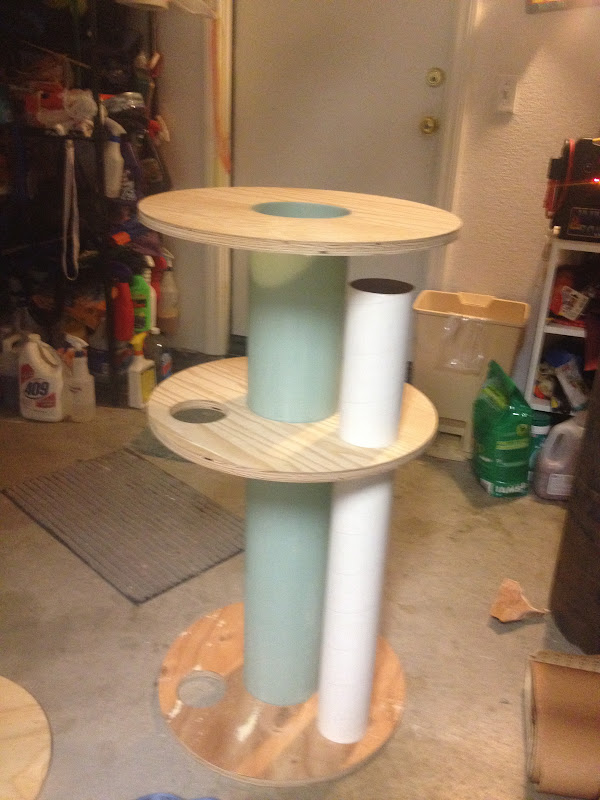
Todays test
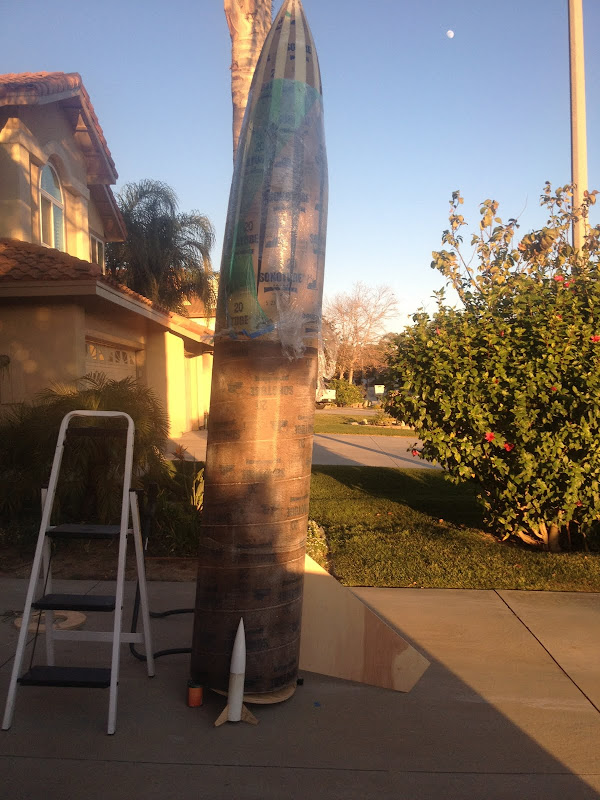
Tomorrows test
Thanks guy,
Bryce


I had to make a new folder in rocksim just because there were so many files!
The smallest being a 1/2" Diameter scale model with fins made from a hotel key from my vacation recently. Flies great on 1/2A's!
Next (my fav) a bt-80 adaptation that stands 16inches tall. Flies AMAZING on C6-3/5's. (Ate all 15 I had that day!) Also liked the last few B4-2's I had. Highly recommend as an easy scratch build!
Next up...
I was in toy-r-us and my dad yells to me that he found the rocketry section. I was so excited, I ran to him and....it was a row of crayon banks. My dad thought he was kidding...hahaha, I made him buy me one. It's not yet built, but will be soon. it is 3 feet tall and has a 38mm mount ready for G's and small H's.
High power guys. You ready?
My level 3 will be a squat, but a 20" diameter squat. I asked about how to make a nosecone for an irregular sized tube here on TRF a couple months ago and settled on an unorthodox method. I had known it worked on small diameter body tubes and wanted to see if it would work out.
I already bought the tubes for my Level 3 about 2 weeks ago (very nice Sonotube) and this morning went by Home Depot to get my "test" tubes. Half scale 10" nominal diameter Quikcrete tubes. I had to make sure I got 2 identical diameters (which I did).
So todays test went well, the biggest issue was cutting the tube smooth. I think my new dremel will take care of that though.
So the 10" will be a 2.5x upscale from the original and will have a central 75mm Motor mount and 1/2" 5ply fins.
The 20" will be a 5x Upscale and stand a massive 12ft tall. And will have a central 150mm mount surrounded by 4 54mm (75?).
Pictures!
The little ones
Crayon Rocksim Squat
Todays test
Tomorrows test
Thanks guy,
Bryce


")