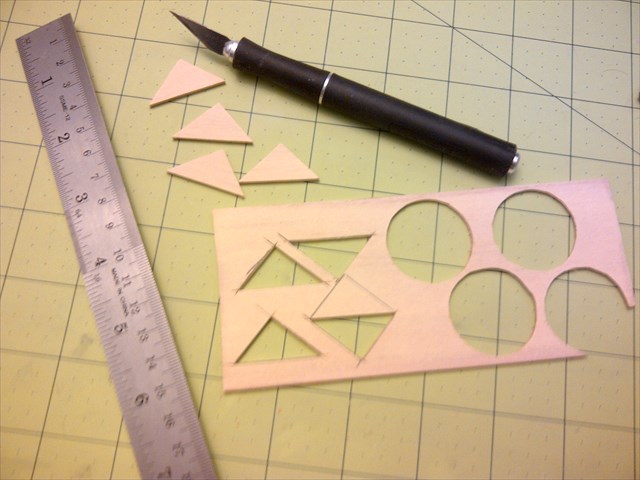
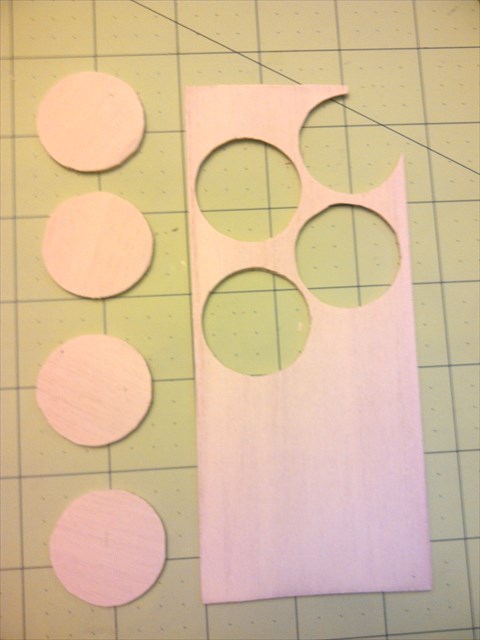
My next step was to sand the balsa discs a little smaller so they'd fit in the bottoms of the boosters. I cut them out using a circle template that was 1-1/4", but the circle template in the instructions is closer to 1-3/16", so I knew they'd be big and require reducing. I didn't want to cut them out using the 1-1/8" diameter template and try to embiggen them.
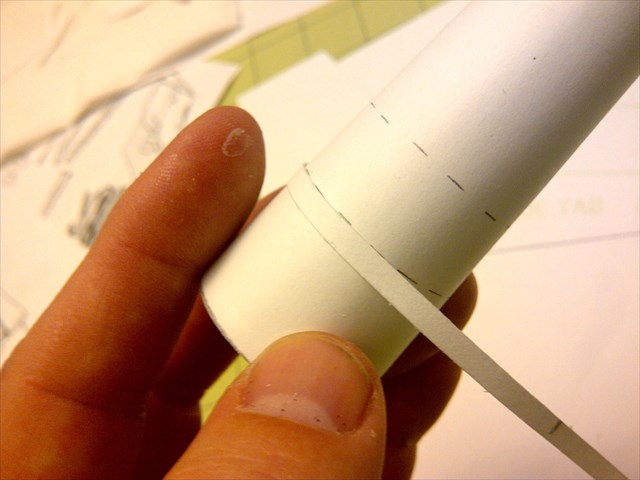
I did, however, use the 1-1/8" template to draw a circle on the disc to give me a reference. That circle would tell me how fast I'm removing material as I sand and if I kept the balsa at approx the same distance from the circle I'd be more likely to end up with a round disc instead of an egg shape or oval.
As I was sanding the first disc I also realized I should sand the edges at a slight angle since the discs were going to be glued into a cone and not a cylinder. The angle had to be VERY slight, but I was careful. I sanded some, tried a test fit, sanded more, tried another test fit, etc. until I snuck up on the correct size. I wanted these to be a tight fit for maximum support and tube strength. If they were too small and pulled the sides of the tube bottom in, it would weaken the tube and make it easier to crush on accident while working on it.
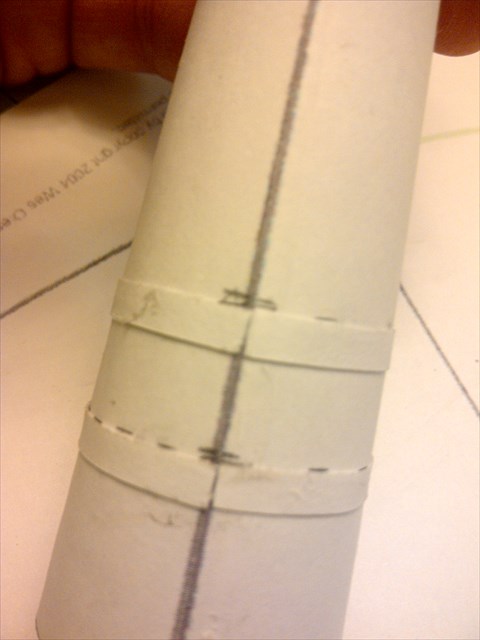
When I finished with a disc I made sure to label it with the tube number so that I wouldn't mix them up. They were all very close to the same size, but not exact, and they were not interchangeable.
I *almost* screwed up royally, but caught myself in time. I was excited about finishing a disc and getting it perfectly sized and reached for the glue to go ahead and glue it in place, but when I remembered the witches hat had not been glued in place and was sitting on the table in front of me I put the glue back down. That could have been BAD. I decided to finish all the discs and glue the hats and discs in place in the correct order.
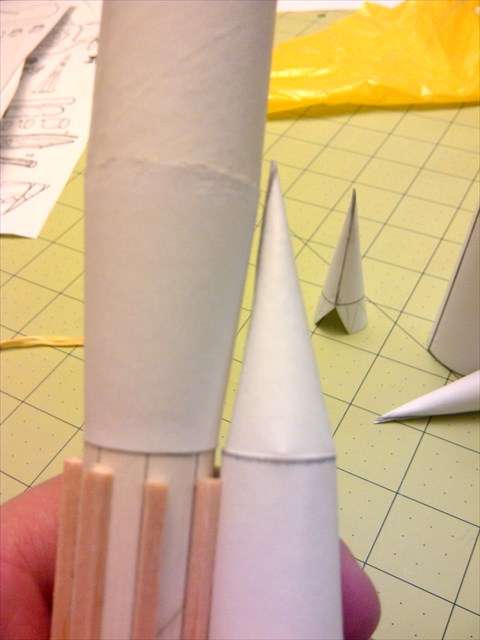
Here's all the discs dry fitted in place.
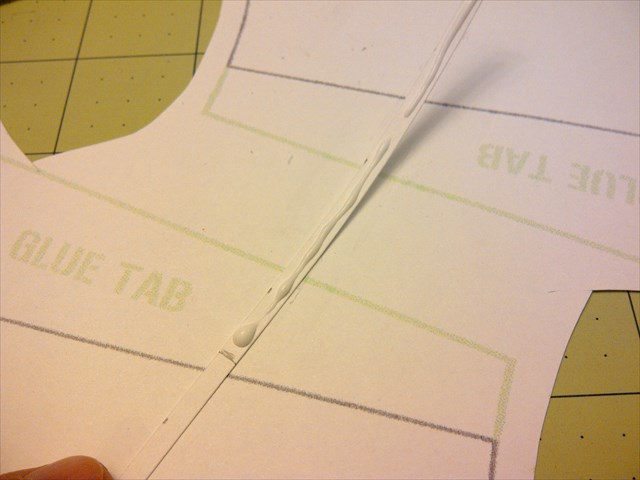
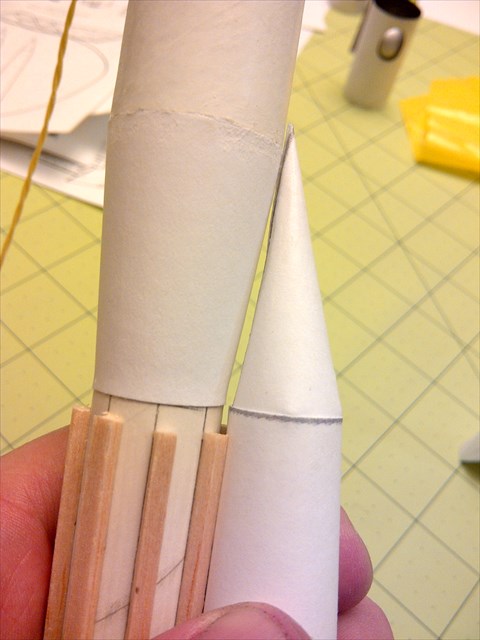
Once I finished sizing the discs I put in the hats, adjusted them into the correct angle by holding them up to the main body, and then dripped some CA around the seam between the hat and the booster tube. A little smoothing with a small scrap of card stock, and blowing on the glue to let it dry, and those hats weren't going anywhere.
With all 4 hats in place it was time to glue in the discs. The tubes had a bit of overlap where the inside glue tab started. After putting glue on the edge of the disc I had to start inserting the edge of the disc near the overlap first, otherwise it wouldn't slide in easy. The overlap on the inside would block the disc. Dry fitting these over and over taught me that, and I'm glad I figured it out before trying to glue it.
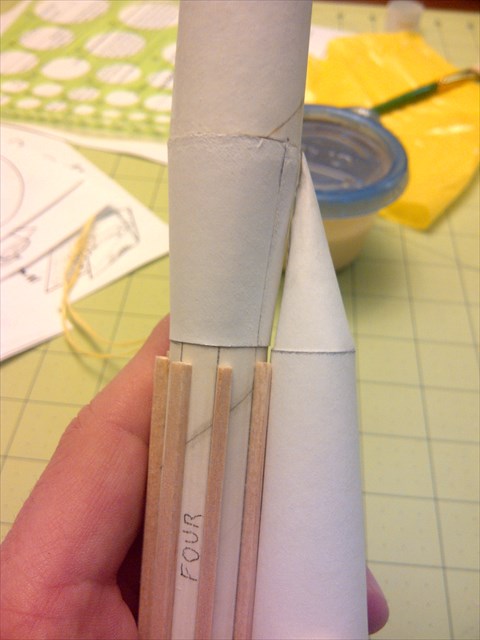
Here's the tubes with the hats and discs glued in place and ready for the next step.


 :handshake: